American Pride Flagpoles professionally installs flagpoles all over Virginia. We install flagpoles from 20' to 100' for both business and residential. We only sell commercial grade flagpoles that have a wind rating, so you will know exactly what you are getting. Call or contact us today to get the best flagpoles made install correctly. And we only sell American Made flags and flagpoles.
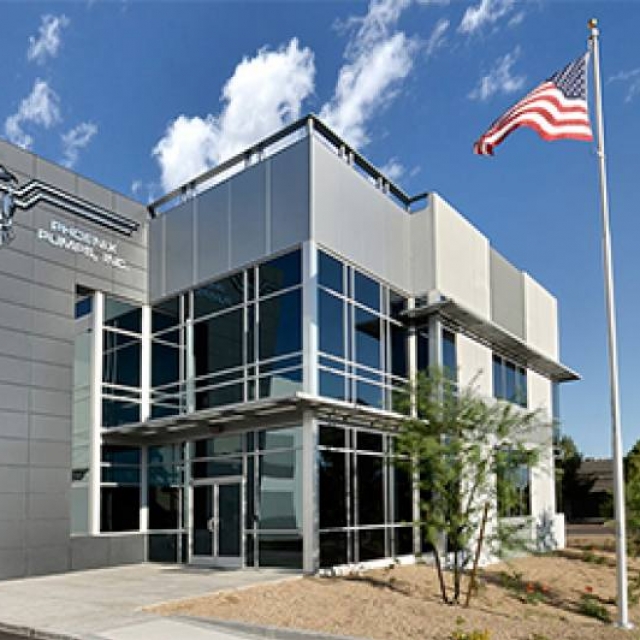
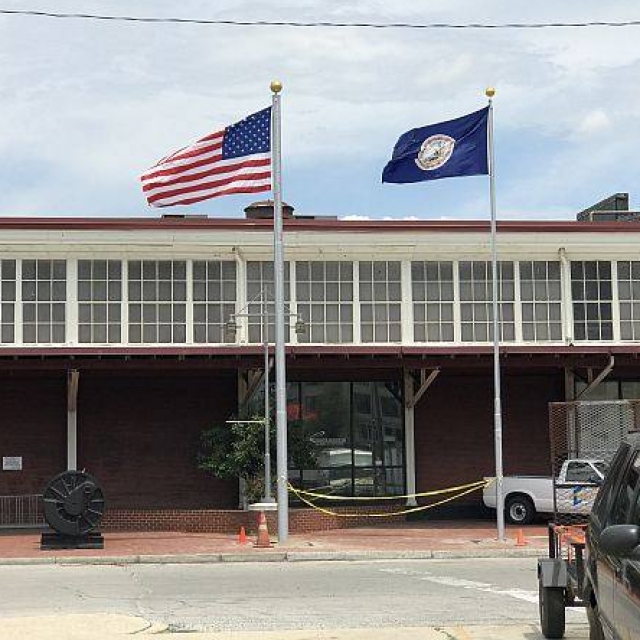
At American Pride Flagpoles, we specialize in full service commercial flagpole installation and repair. We go by the flagpole installation instructions and only modify to the situation. We have installed and/or repaired flagpoles throughout Roanoke, Smith Mountain Lake, Christiansburg, Blacksburg, Dublin, Lynchburg, and Northern Virginia. Installation is our specialty, but we will also repair your flagpole with the right flagpole accessories. We carry truck pulleys, double braided polyester rope, stainless steel snaps, cleats, ball ornaments, and all other items needed to complete any flagpole. If you want your flagpole to have a new golden ball ornament, or an eagle. We have you covered. Call us today. We will help you decide which flagpole will be right for your home or business.
To install a flagpole we always use the installation specifications as a minimum requirement. If the ground is loose or soft, we take that into consideration when planning the foundation. Our plan is to never be called back because we didn't do our job right. We are American Pride Flagpoles!
Call us today! (540) 915-6533
 |  |  |  |  |
 |  | .jpg) |  | |
| Foundation and Sleeve | Adding Concrete | Raising the Flagpole | Final Bright Red, White, And Blue |
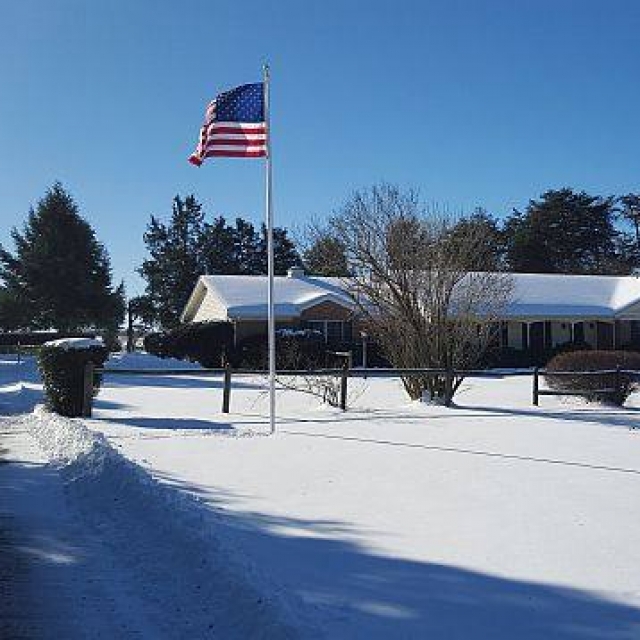
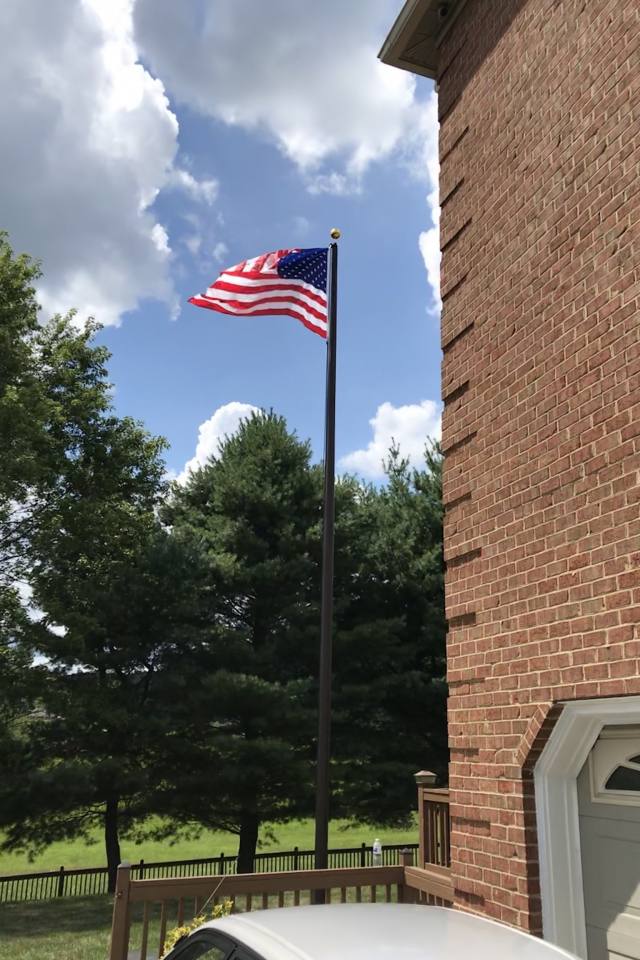
Residential flagpole installation can be a challenging task. Choosing the best spot to install your flagpole needs to be planned carefully. When you do decide on the best spot to install your flagpole, mark it with a stake or paint, and call Miss Utility to make sure it is safe. Most people want their flagpole installed at the front of their home. The height of your flagpole is a big decision. The farther away from the house, the less it matters how tall your flagpole needs to be. If it is a distance away from your house, then it is a matter of preference. How big of a flag you want to fly? Do you want the flagpole to be a small part of the look of your home, or a major focus? We will guide you in selecting the size and location most suitable for your home after talking with you to determine the purpose. We will install a flagpole you will enjoy for many years. We will explain the differences in flagpoles. A tapered flagpole is a start in the right direction. You can fly 2 flags on most flagpoles. We offer the best advice about your flagpole. Call (540) 915-6533.
All of our residential flagpoles come with detailed instructions. The instructions will tell you how to set the flagpole foundation. The diameter of the hole that needs to be dug. They will tell you how to plumb the flagpole sleeve. The instructions will tell you in order how to assemble the flagpole.


We can take a steel flagpole that is rusted and/or has seen better days, and give the flagpole new life. We can resurface the flagpole and paint it with the color you choose. We can also replace all the working parts, add a flag, and then you can enjoy your flagpole for many years to come. We repair, refurbish, and install both residential and commercial flagpoles.
We also can clean an aluminum flagpole that has oxidized. We will replace any parts that need to be, and give your flagpole a new life that will last for many years.
We carry truck pulleys, ball ornaments, and many other flagpole accessories. We can upgrade and accent your flagpole with an eagle or one of many other decorative flagpole toppers. Call us for more information at (540) 487-8334
| BEFORE | AFTER |


| BEFORE | AFTER |
|
|
Residential flagpoles ship have complete installation instructions.
Tools needed:


.PNG)